Tag: CT101

Paper, Light, Shadow & Storytelling – Lets make a Paper Sculpture.

an ephemeral paper sculpture photographed in black and white

How-to make an Ephemeral Paper Sculpture.. from Home!

Here is a fun tutorial that you can follow along with (from home) through this post. This blog post is both the assignment and the example for how you may choose to create and publish your own work. This is part 1 of the process for the creation aspect of things, I will publish a “Part 2” with another tutorial for creatively pushing the documenting of the art work in a few ways. Feel free of course to improvise with any additional materials or hack the whole project to expand your own examples and storytelling. The goal is to publish your process and narrative into a compelling sequence of events!

*Please e-mail a selection of your best final images to rseslow@york.cuny.edu – a collaborative image gallery will reside on this website.

Paper, Light, Shadow & Storytelling – Lets make a Paper Sculpture.

First, the essence of the project is to create and investigate 3D form through storytelling. The form(s) that we make will serve as the content for your blog post. Lets put an emphasis on making a “subjective form”. We can get great practice in by narrating and detailing our steps. We can do this with some pretty common household materials too. Lets jump in! Grab some standard typing/printing paper, tape, a glue stick, a pair of scissors, a wall or table top surface and an external light source (flashlight). Let’s ask ourselves: “self, what are the potentials of form using paper, shadow and light by generating “a new forms” into existence through our creative immediacy? In my example below Im using a relief application by adhering my pieces to the wall, but you can also work on another flat plane if you wish. Keep the word “perspective” in mind as the documentation process plays a big role later on. 

As we scroll below the images will begin to “paint a picture” of the process but we can help it along and make it more compelling by the “way” that we assert the process. Adding your personality and sense of humor is certainly one option. We can also apply accessibility and inclusion by adding text to support the images. We can do this both below the image and placed into the “alt-text” area when we “edit” the image itself. 

Notice, Im using a simple shape, a circle, and Im altering its height by applying scale variations to my individual pieces. Subtle variations go a long way. So do multiple units of one single shape. Oh, and photography plays a big role in capturing your work in progress and the final outcomes as the sculpture itself is ephemeral… or is it?

Artist references – What artists work with or have worked with paper? 

Li Hongbo, Felix Semper, Elsa Mora, Kara Walker (and many more, what did you discover?)

Jump in! (Im going to project some fun colorful light sources on this same piece once it gets dark tonight).

Have fun and be sure to publish your post here on the Commons – add your URL here in the comments section below!

*PS –*Please e-mail a selection of your best final images to rseslow@york.cuny.edu – a collaborative image gallery will reside on this website.

*Part 2 will also publish on this blog soon!

Gather your materials - image of a cutting mat (cardboard also works) transparent tape, a glue stick(bond version), a pair of scissors, an X-Acto knife and some regular printing paper.

  1. Gather your materials – a cutting mat (cardboard also works) transparent tape, a glue stick(bond version), a pair of scissors, an X-Acto knife and some regular printing paper.

Image sharing how to cut your paper into strips (as many as you would like, but think of at least 10 or more) using the X-Acto knife or the scissors, apply the glue stick to the edge of one side of the strip that you have cut

2. Cut your paper into strips (as many as you would like, but think of at least 10 or more) using the X-Acto knife or the scissors, apply the glue stick to the edge of one side of the strip that you have cut.

Image showing how to carefully fold over the paper and apply pressure to the edge as it meets the glue. Hold in place for a few seconds.

3. Carefully fold over the paper and apply pressure to the edge as it meets the glue. Hold in place for a few seconds.

Image shows the Cut strip of transparent tape and from it into a loop. (you will be repeating this process)

4. Cut a strip of your transparent tape and from it into a loop. (you will be repeating this process)

image of one of the circular forms cut from paper

5. Once the circular form is ready, place the loop of transparent tape to the same side where you joined the two ends of your paper.

an image of the tape applied to the form - and repeat the process as needed to start composing your fragments.

6. Apply the tape and repeat the process as needed to start composing your fragments.

This is an image example of the various individual pieces that I cut out and glued together - they consist of various heights and diameters, this is called Scale and it created variation

7. This is an example of the various pieces that I cut out and glued together. Notice, they consist of various heights and diameters, this is called Scale and it creates variation.

Image shares the composing process by organizing and adhering your pieces. (Your first idea is NOT your only idea so play around with this a bit).

8. Begin the composing process by organizing and adhering your pieces. (Your first idea is NOT your only idea so play around with this a bit).

image shows the additive process - keep adding more pieces.

9. Add more pieces.

image shows the additive process - keep adding more pieces.

10. Keep Going!

image shows the additive process - keep adding more pieces.

11. Looking good, add more!

the final outcome image!

12. Finished! I used all of my pieces and took this image with the natural light that was present at the time.

the final outcome image with a dark lighting effect

13. You can certainly see that LIGHT plays a role in the enhancement of the mood and overall aesthetic… what will you do?


*OK if you made it this far, here is a teaser from the light projection captures! Coming soon!

an image of the paper sculpture with a purple light source projected onto the piece


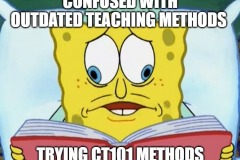
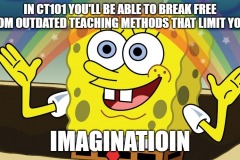
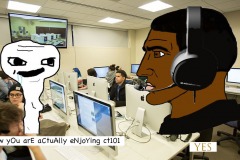
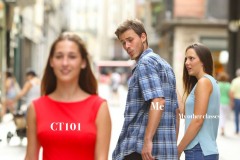
Reacting to York College’s CT101 in MEMEs!

Are Internet Memes ART?

CT101 – Digital Storytelling students at York College are always up for the challenge!

(Screen the video above first and read the articles below, its context, it helps!)

Further, then, do an internet search for “Are memes ART?” See what you discover.. Oh, you will be surprised. No matter how you cut it, memes are here to stay…is this good or bad for Art? Is this good or bad for Education? Is there context for memes and appropriate application in your course or courses? If so, where and how do you start? We wanted to investigate, and so we did.

We would like to know what you think. And by all means, share you favorites via URLs, and or create your own as a reaction..

Are Memes the Pop Culture Art of our Era? Kate Knibbs – https://www.digitaltrends.com/social-media/when-does-a-meme-become-art/

Another piece with some good insights – http://www.dazeddigital.com/artsandculture/article/34645/1/is-2017-the-year-that-memes-are-recognised-as-art

Please leave your reactions in the comments section below. We dare you!

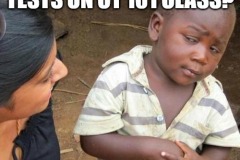
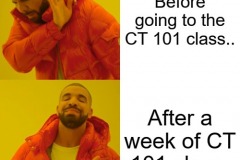
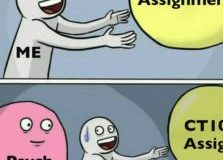
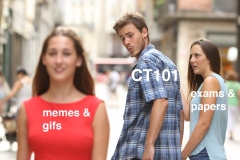
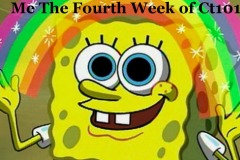
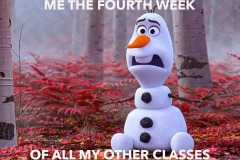
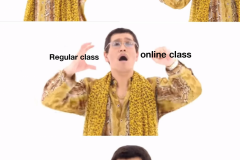
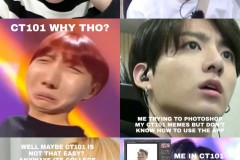
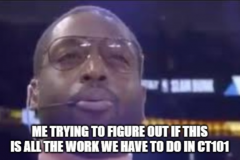
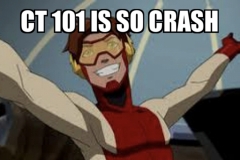
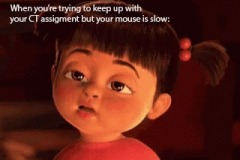
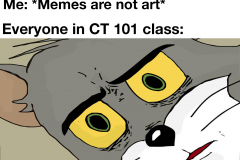
The gallery below is our spring 2020 first iterations of Memes that express a simple contemplation: “How do you feel about your CT101 class so far? (After week #4) The gallery speaks for itself. 

By the way, students were also introduced to adobe photoshop. The memes were created as an introduction to basic design layout and applying text to an image. Typesetting is a skill and learning how to apply type to unify a composition takes a lot of practice. Practice, practice. 🙂

York College CT101 Digital Storytelling MEMEs

Carrying on the CT101 tradition, Digital Storytelling students at York College expressed their feelings towards their CT101 class by investigating and generating Internet MEMEs. Students were introduced to working with Adobe photoshop, applying images from the web and adding a text overlay.

Art MEMES ART?

Well, this is broad question, individual blog posts were generated by each student on the ct101.us website to answer and adress the question. This collection continues the tradition on the Net-Art community platform!

York’s CT101 GIFs the Portrait Collab Style

The CT101 GIF the Portrait Collab – Spring 2019 Edition!
https://drive.google.com/open?id=1z5I2d6kBVBtge0Yv1STQfgzHM_2BiGLu

The link above is an active google drive folder that contains all of the source content that amounted to the collaborative GIFs above. CT101 students from 2 sections at CUNY York College contributed to the project. But wait! This is only part 1! There is more to come, that is why the link above is so vital!

The synopsis, portraits of people who influence and or inspire us are used as a subject for the group animation. The images are re-sized and rendered in photoshop. Then, they are stacked into frames to produce the fast morphing effect. Then, they are extended for further hacking, reorganizing and the re-manipulating of the images, GIFs and video content available. We want to push this idea further!

In class on 4/9 we talked about using the Quicktime application as a video looping / capturing display and presentation platform. (the video above is an example) What are the potentials of multiple screen recordings and overlaying videos to create expansive ways to communicate our content? We are curious.

What will you do next? Will you take the risk of clicking on the google drive link to expand the unknown?  We hope so! Outcomes can be added to the CT101.us media library or e-mailed directly to me here – Rseslow@york.cuny.edu

Get Busy!

CT101 YORK Cross Course Collab Part II

The Original Version of the Altered Portraits

CT101, the YORK College Cross Course Collab Part II

This fall semester the students at CUNY York College collaborated on the annual GIF the Portrait project. CT101 is a digital storytelling course that fosters the understanding and application of digital tools while creating a digital identity on the Internet at large! 

CT101 has two sections this fall semester. Whilst learning some new blogging skills each student was asked to write an individual post about someone who inspires and motivates them. They were asked to share why and add contextual links for further clarification. (these can be found on the ct101 website) Using the portrait of that person selected we learned basic electronic image manipulation skills with adobe photoshop. Students also made some basic sequential motion graphics with those manipulated images. Then, they were asked to extract one single still-frame from their individual animations to contribute to the animations above. The result is a fast moving collaborative sequence of portraits. The portraits quickly morph and fragment into a series of animated iterations. Does the word ENERGy come to mind? We hope so (along with a little glitch aesthetic, we hope for that too). After the first animated collab was published, we began pushing the piece further by “examining the potentials of what else may happen?”

Students are now working on screen grabbing the consolidated GIFs and pushing them forward into “various otherness” using the mobile apps below. 

Would you like to remix one? What is stopping you?!!

Stay tuned!

Glitche’ – glitche.com

to.be camera – to.be/camera

Giphy Cam – https://giphy.com/apps

Instagram – http://Instagram.com

VHS CAM – http://rarevision.com/vhscam

Assembly Design App – http://assemblyapp.co

Ultra-Pop

Ultra-Pop -Infinite

GifVid (simple tool to covert GIF to Video, Video to GIF on the phone)
 
 
iColorama S rich featured image editor that maintains full resolution of images
 
Decim8 Glitch
 
http://royb0t.net/tagged/iOSartApps
 
ImgPlay – Awesome GIF maker!
 
Back Eraser – Great to remove background areas and make layers.
 
Imaengine – Tons of filters, vector conversions, stills & video
 
Hyperspektiv – Tons of filters, stills and video


The GIF the Portrait project is an open project promoted by the NET-ART website here on the academic commons. Would you like to join in and submit? Lets chat!


CUNY York College CT101 Vapor Wave Exhibition

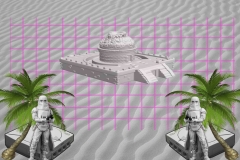
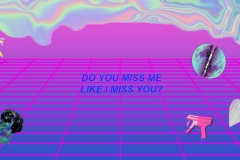
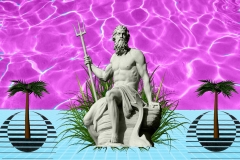
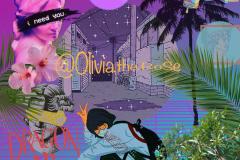
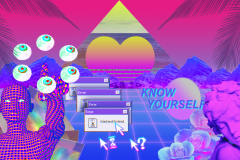
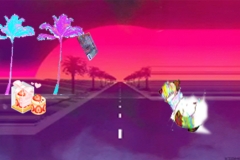
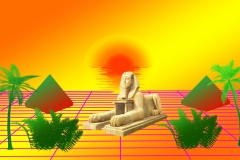
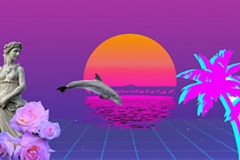
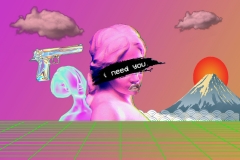
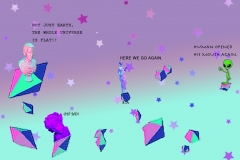
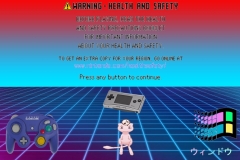
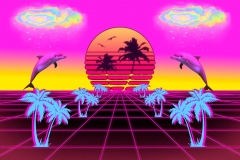
Welcome to the CT101 Digital Storytelling Gallery of Vapor Wave Aesthetic.

CT101 is a Digital Storytelling course at CUNY York College.

Inspired by this blog post previously published by professor Michael Branson Smith we set off to explore and experiment the genre as a class. The intention was to run through a series of class tutorials and then go off independently to generate images. Vapor Wave is a vast and unique community! The musical aspect is huge, and the accompanying visuals are so attractive and contagious. The possibilities of how and where the aesthetic can be applied is even more expansive than we thought! You might ask yourself, why haven’t I heard of this before? Good question! It all seems to start with getting your feet wet with these two videos below, a little history really helps.
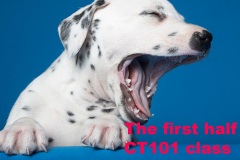
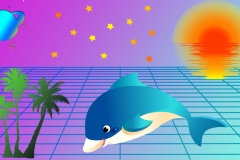
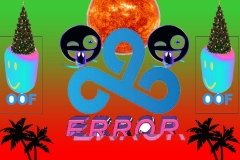
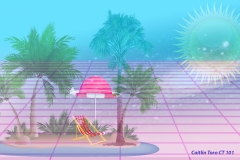
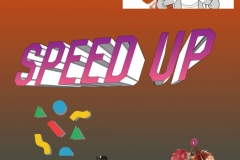
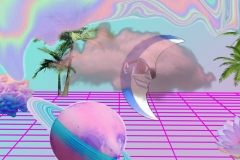
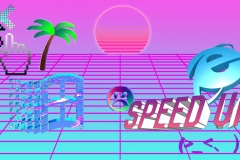
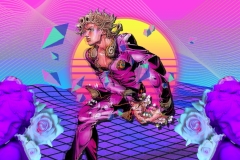
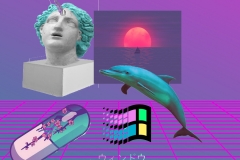
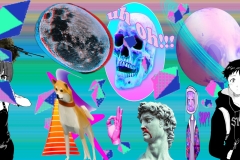
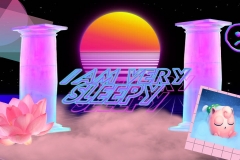
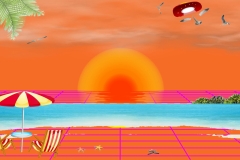
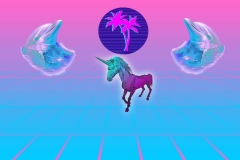
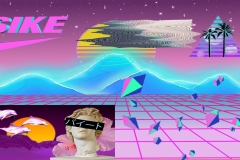
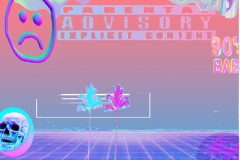
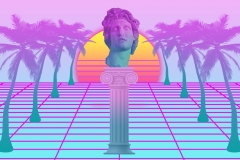
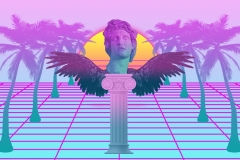
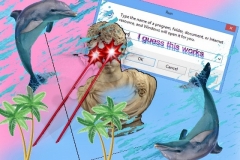
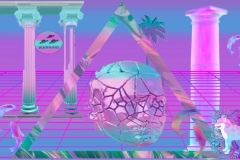
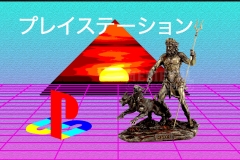
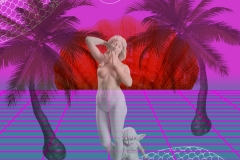
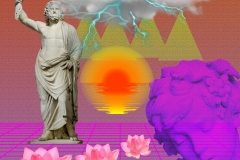
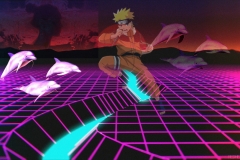
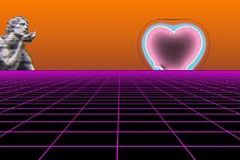
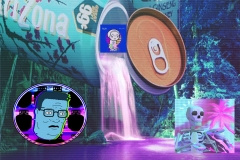
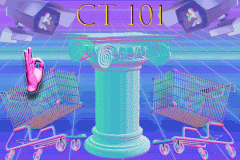
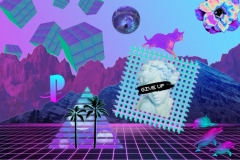
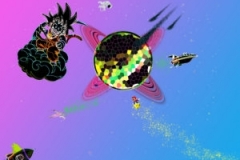
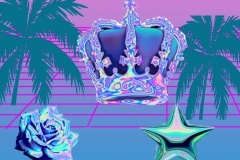
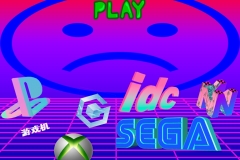
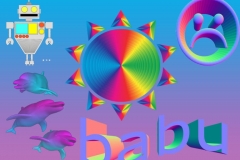
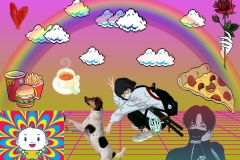
The image gallery above is an energetic series of our first static outcomes! These pieces above set a tone for what is possible, and how we can push ourselves further. CT101 students are new to many of the software applications used in the course. We learned and applied a ton of new skills with adobe photoshop to create the digital collage works. Importing files, creating graphic assets, working with layers and gradients are all a part of the process. Saving files and exporting various file formats for the web were also explored and tested.
I want to make some Vapor Wave Art too! (right?)
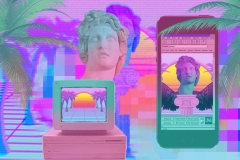
A great way to get started is by doing your own research and finding a tutorial that you can follow along with. I suggest these two below:

  1. Creating Vapor Wave – 1 – https://www.youtube.com/watch?v=hKokry41Ixg
  2. Creating Vapor Wave – 2 – https://www.youtube.com/watch?v=aJ_ZT0Phfo4

The tutorials are great to work along with. But alas! What if you don’t have access to adobe photoshop? Is there an alternative? Indeed, you can use web browser applications like:

  1. Pixlr – https://pixlr.com/
  2. GIMP – https://www.gimp.org/
  3. Get Paint ( For PC users) https://www.getpaint.net/index.html

If you are looking for pre-made vapor wave elements, content and graphic assets you can easily grab a series of transparent images from doing a quick search that simply reads: “transparent vapor wave graphics“. The vapor wave community is proactive in sharing and uploading transparent graphics making it accessible and immediate for anyone to get involved.

Like what you see? Jump in and submit your work to the Vapor Wave gallery!